Add Overlays in CapCut Video Editor – The Ultimate Guide
Unveiling the Versatility of CapCut Overlays Feature
Introduction to CapCut Overlays Feature
CapCut, a free and feature-rich video editing app available on both iOS and Android devices, has taken the world of content creation by storm. One standout feature that sets CapCut apart is its powerful overlay functionality, allowing users to add an extra layer of creativity to their videos. In this comprehensive CapCut Overlays guide, we will explore the concept of overlays, why they are essential, and provide a step-by-step walkthrough on how to seamlessly add overlays using CapCut.
What is Meant by “Overlay” in CapCut?
Understanding the Overlay Concept
An overlay in film editing refers to a picture, video, or text superimposed over another video, creating a layered effect. In the context of CapCut, overlays serve various purposes, such as adding watermarks, stickers, additional video effects, incorporating green screen edits, and inserting text captions. Unlike some video editing programs, CapCut stands out by offering a robust overlay feature without the need for premium versions, making it accessible to all users.
Why Should You Use Overlay in Your Video?
The Importance of Overlay
Adding overlays to your videos enhances the visual appeal and opens up creative possibilities. Moreover, overlays can be utilized to provide additional context, serve as source material for response videos, and aid in information retention by overlaying text on the video’s audio track. Furthermore, the benefits of using overlays include increased viewership, the flexibility to repurpose a video in various ways, and the ability to convey additional information through multimedia elements.
How to Add Overlay to Videos Using CapCut?
A Step-by-Step Guide
Step 1: Download and Install CapCut on Your Device
Begin by downloading CapCut from the App Store for an iPhone and Google Play Store for Android. The installation process is straightforward, ensuring a hassle-free start to your video editing journey.

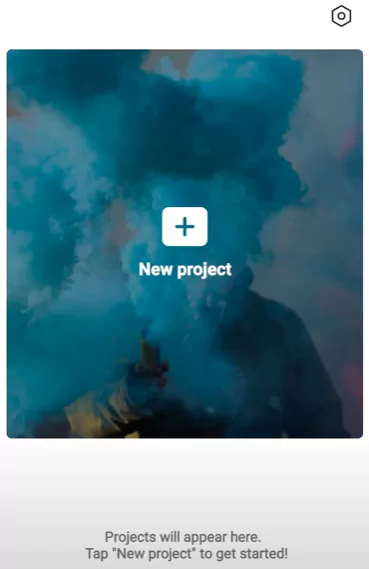
Step 2: Initiate the App and Gather Your Video
Open CapCut and start a new project by importing your desired video. Additionally, CapCut provides the flexibility to choose between existing videos or import new ones to serve as the backdrop.
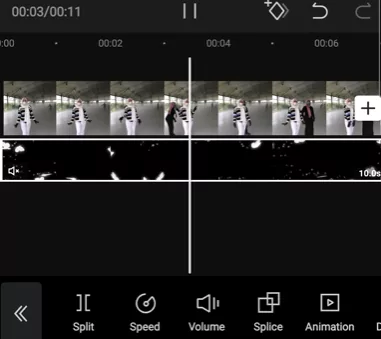
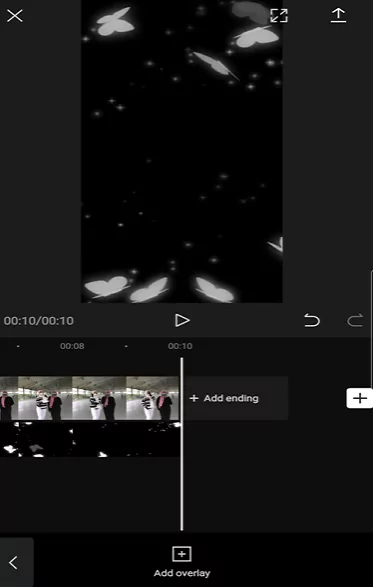
Step 3: Start Adding Various Overlays to Video

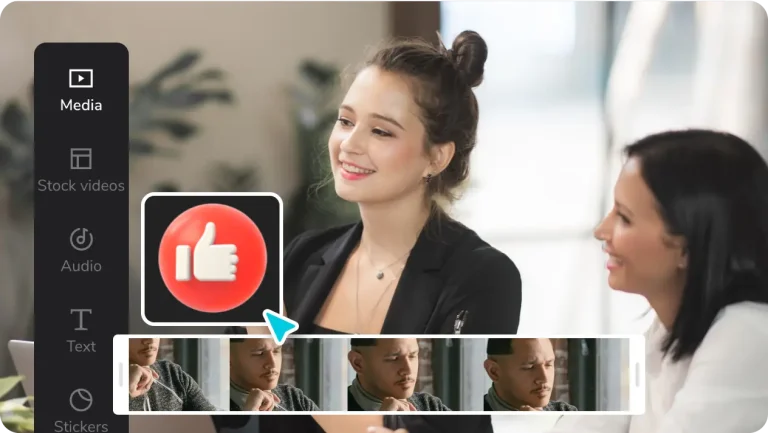
- Select the “Overlay” option from the menu at the bottom of the screen.
- Choose the photo or video you want to superimpose over your main video and click “add.”
- Explore additional overlay options like text and stickers to enhance your video further.

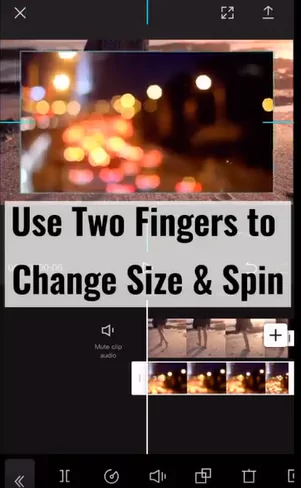
Step 4: Adjusting Positions, Size, and Opacity
Customize the appearance of your overlay by adjusting its size, position, and opacity. Moreover, CapCut allows for intuitive adjustments, enabling users to achieve the desired visual impact.
Step 5: Adjust the Length of the Video on CapCut
Fine-tune the duration of the overlay by selecting when it appears, how long it stays visible, and when it disappears. CapCut simplifies this process, ensuring precise control over the timing of your overlay.
Step 6: Adding Finishing Touches
CapCut offers a wide selection of stylish text overlays. Once you’ve chosen the one that complements your video, you can determine its duration on the screen. Then, drag the indicators to adjust the duration and finalize your video with finesse.
Here is a detailed video step-by-step as mentioned above in the article.
FAQs
Q1: Can I include song lyrics in Capcut?
A: Yes, CapCut allows users to add editable text, such as lyric texts, to their videos. Import your video, click the Text option, and incorporate overlay lyrics.
Q2: How to make the layer stay longer on the screen?
A: CapCut’s user-friendly interface allows users to extend the duration of an overlay effortlessly. Additionally, by simply touching the slider’s border, you can move it to the right to make a layer stay on the screen longer.
Q3: Is it possible to overlay on a black screen?
A: To overlay on a black screen in CapCut, you can utilize the green screen function or the automated backdrop-changing feature. Essentially, this process is akin to overlaying on a green screen.

Q4: How is overlaying different from the green screen function?
A: Overlaying involves placing new layers of text, images, stickers, or videos on top of existing layers. In contrast, the green screen function in CapCut allows users to modify the background of a clip while keeping a moving item in the forefront.
Q5: How to achieve a transparent overlay in Capcut?
A: After applying the overlay, select it in the timeline, then proceed to choose the opacity button, and adjust the opacity to make it completely transparent. CapCut provides a simple and intuitive way to create a transparent overlay.
Q6: Can I blur the overlay?
A: Yes, once the overlay is added to the timeline, click the Effects button and choose the blur effect from the Effects section. CapCut allows users to add blur effects to overlays seamlessly.

Q7: Can I include other effects on top of the Overlay video?
A: CapCut enables users to add effects to overlays by selecting the overlay, clicking the Effect button, and choosing the desired effect, such as blurring.
Q8: How to use the overlay feature on Capcut PC?
A: To use the overlay feature on CapCut PC, install the application on your PC either directly or through an emulator. The process remains the same as on a mobile device.
Q9: Is it possible for an overlay to move?
A: CapCut’s overlay object tracking feature allows users to move an overlay. Additionally, the green screen or automated backdrop-changing tools can be used to modify the background behind a moving item in CapCut.
Final Thoughts on CapCut Overlays
CapCut, despite its initial appearance of complexity, proves to be a versatile and user-friendly video editing tool. With the ability to independently adjust each layer and add an unlimited number of additional layers, the creative possibilities within CapCut are virtually endless. Whether for TikTok or professional projects, CapCut empowers users to produce incredible content and elevate their video editing skills. Share your experiences with CapCut overlays in the comments below and explore the boundless world of video editing with this Chinese gem of an app.