Mastering the Art of Velocity Editing on CapCut: A Comprehensive Guide.
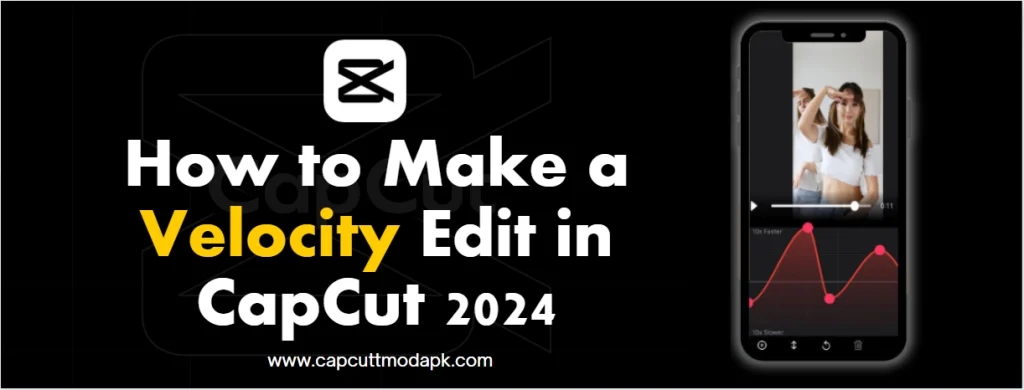
Unlock the secrets of creating smooth and flashy velocity edits on CapCut with this step-by-step guide. Discover three easy methods – manual editing, Auto-Velocity effect, and velocity templates – and elevate your videos to the next level.
Understanding Velocity Edit: Unleashing Creative Potential
Delve into the concept of velocity editing on CapCut and understand its creative potential. Explore how this technique allows you to manipulate the speed of your videos, adding a dynamic touch to your content.
Method 1: Manual Velocity Edit on CapCut
Step 1: Launch the CapCut App
- Initiate your velocity edit journey by launching the CapCut app on your Android or iOS device. Create a new project and prepare to unleash your creativity.
Step 2: Add Video to CapCut
- Select a video from your camera roll and seamlessly integrate it into the CapCut app. Confirm the addition by tapping the lower-right “Add” button.

Step 3: Hit the Speed Button
- Navigate to the editing screen and select the video clip in the timeline. Tap the “Speed” button to initiate the velocity editing process.

Step 4: Hit Curve Button
- Achieve smooth velocity edits by engaging the “Curve” button. Customize the velocity of your videos using CapCut’s intuitive curve editing feature.

Step 5: Hit the Custom Button
- Explore the full range of velocity editing possibilities by selecting “Custom.” Edit velocity by dragging dots in the spectrogram, and add Music for more frequent velocity alterations.

Step 6: Save and Share
- Once your velocity edit is perfected, save and export your video masterpiece. Share it on TikTok, WhatsApp, Facebook, Instagram, or your device.

Making Velocity Edit Rhyme with Music
Learn how to synchronize your velocity edits with background music. Utilize CapCut’s Match Cut feature and align beats with the music to create a captivating visual and auditory experience.
Method 2: Auto Velocity in CapCut
Step 1: Ensure App Update
- Ensure you have the latest version of CapCut by updating the app via the Google Play Store for Android or the App Store for iOS.
Step 2: Create a New Project
- Open CapCut, start a new project, and add material. Select a video and proceed to the next steps.
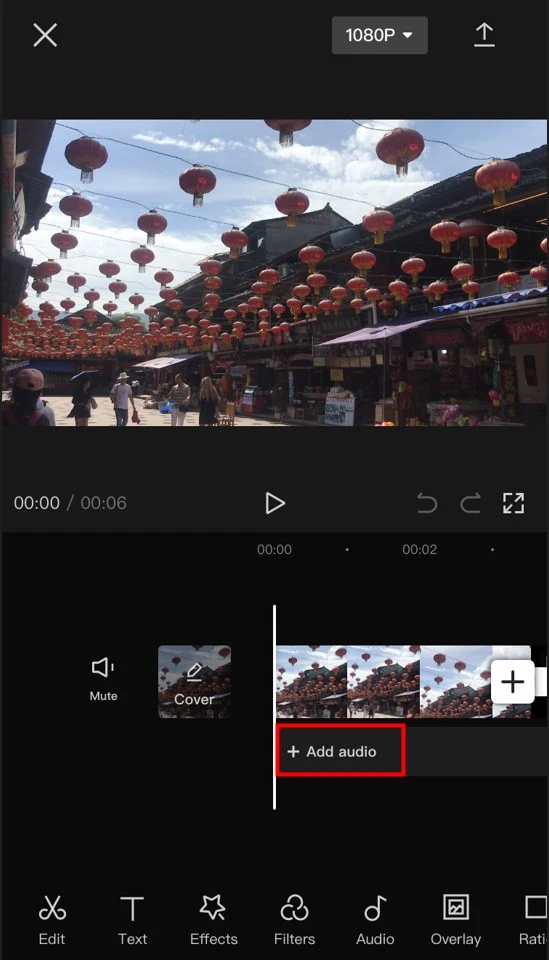
Step 3: Add Audio
- Enhance your video with the Auto Velocity effect by adding audio. Choose a song from your local storage or CapCut’s music library.
Step 4: Trim Your Video
- Trim your video or song to match the desired duration. Ensure synchronization between audio and video.

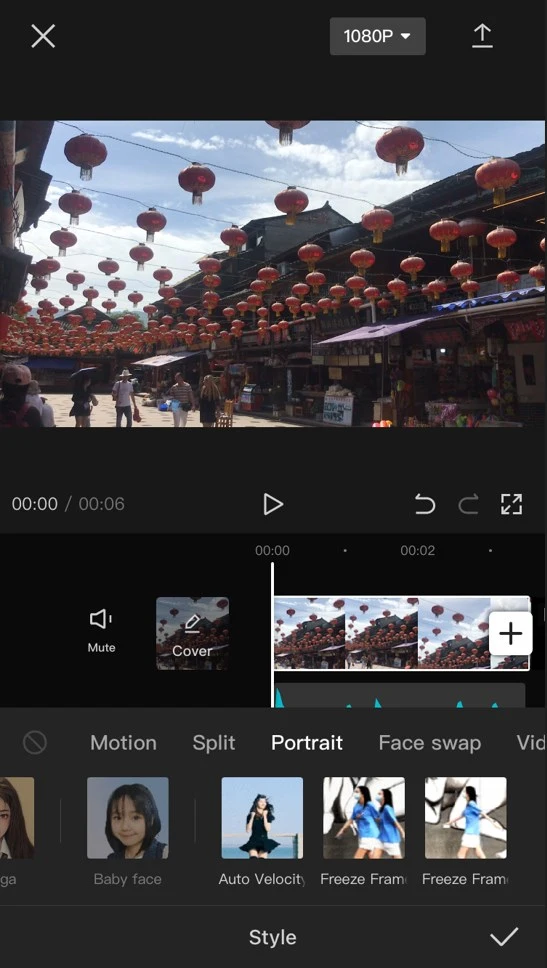
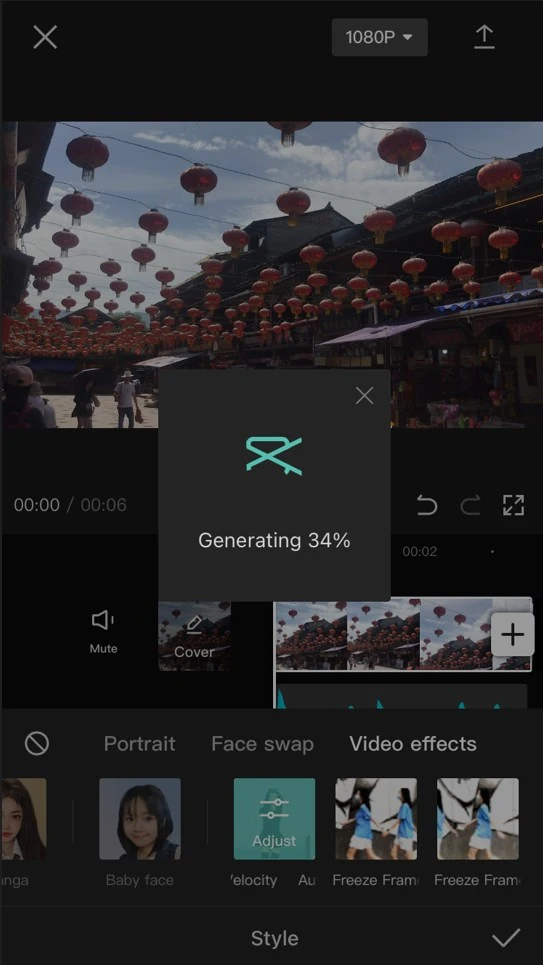
Step 5: Apply Auto Velocity Effect
- Tap on your video clip, open the ‘style’ menu, and select ‘Auto Velocity.’ Preview your video to ensure synchronization with the music.

Method 3: Velocity Templates in CapCut
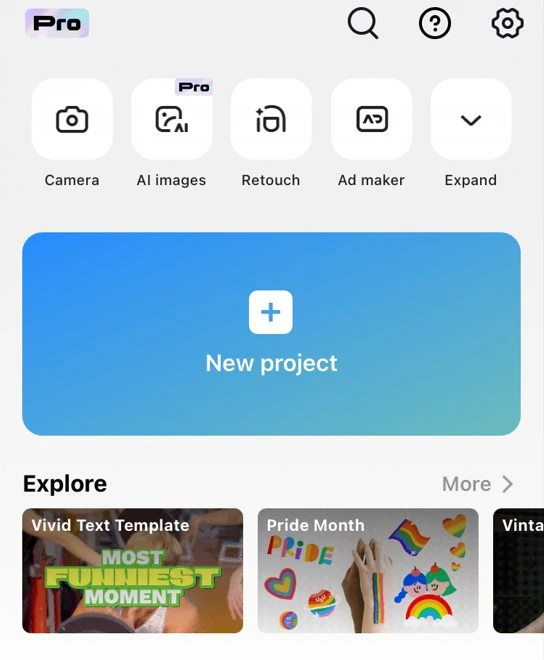
Step 1: Open CapCut and Select a Template
- Launch CapCut and navigate to the template section. Begin exploring the diverse range of templates available.
Step 2: Search for a Velocity Template
- Use the search box to find a specific Velocity template that suits your creative vision.
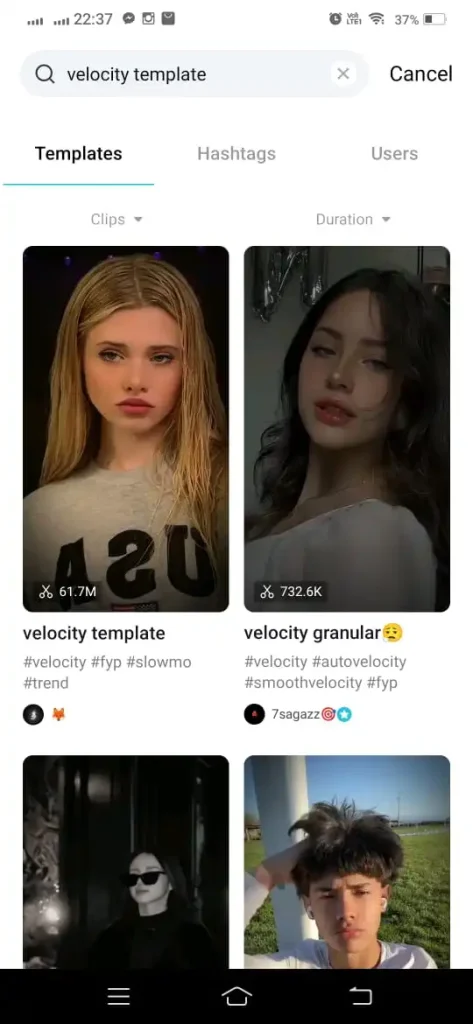
Step 3: Preview and Filter Templates
- Preview and filter Velocity templates based on popularity, duration, and the number of clips they support.
Step 4: Use the Chosen Template
- Select your preferred Velocity template and tap ‘Use Template.’ Add video clips to apply the template and effortlessly create captivating Velocity videos.

Unleash your creativity and explore the dynamic world of velocity editing on CapCut. Whether you prefer manual control or the convenience of templates, CapCut offers a versatile platform to bring your vision to life.
Conclusion
That would be the most effective complimentary technique for achieving a seamless velocity edit within CapCut. I trust you’ve had the chance to experiment with it on your CapCut platform and found it satisfactory. Additionally, in our recent article, we’ve explored three approaches to utilizing CapCut on PC. This enables you to edit videos via CapCut on a PC, enjoying the benefits of a larger screen and the precision of a mouse. Be sure to check it out!”
FAQs
Q.1. How do you add velocity in CapCut?
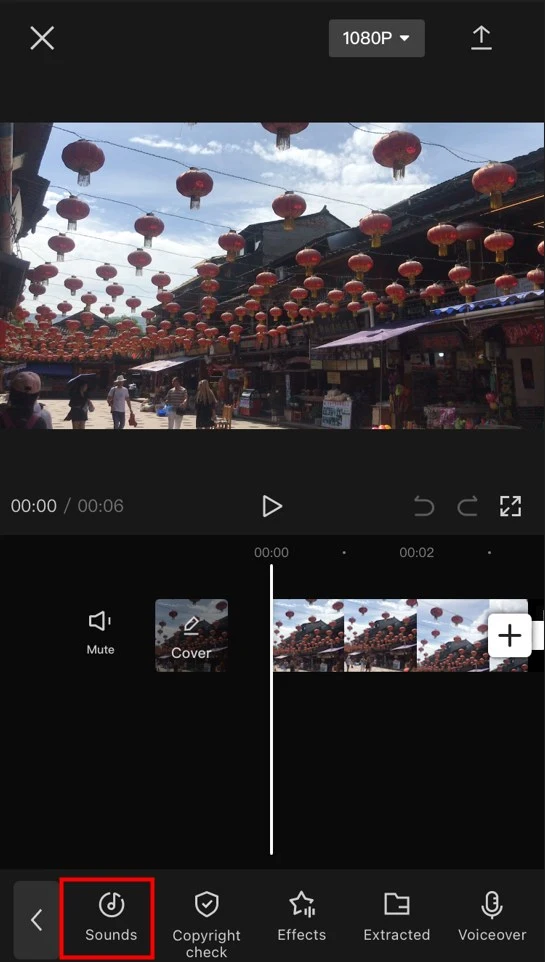
To add velocity in CapCut, first, open your project. Then, choose the video you want to work with and tap “Add” at the bottom. Next, tap “Add Audio” and select “Sounds” to choose a sound from CapCut’s audio library.
Q.2. What is the best app to make velocity edits?
The best app for making velocity edits is CapCut, available on both Android and iOS devices. Developed by ByteDance, CapCut is a free and powerful video editor with a wide range of editing tools and features, making it one of the most popular choices for editing videos.
Q.3. What does velocity edit mean?
A velocity edit refers to a video editing technique that involves adjusting the speed of the video, either speeding it up or slowing it down at specific moments.
Q.4. How do you make velocity edits online?
To create velocity edits online, access the editing options by tapping “Edit” at the bottom left corner. Then, select the “Speed” option. Choose between “Normal” and “Curve.” Opt for the “Curve” option to craft velocity edits tailored for platforms like TikTok.