Add Keyframes In CapCut 2024
Editing videos in CapCut can be a transformative experience, especially when you harness the power of keyframes. Keyframes are crucial for every animation, determining the starting and ending points of specific features in your video and ensuring seamless transitions. In this comprehensive guide, we’ll explore the ins and outs of adding keyframes in CapCut, unlocking the potential to elevate your videos to the next level.
Adding Keyframes in the CapCut App (Mobile)
Creating Astonishing Videos with Keyframes
CapCut’s mobile app for Android and iPhone offers a plethora of editing possibilities, with keyframes being a standout feature. Although the process might seem intricate initially, it doesn’t demand expert editing skills. In this section, we’ll focus on adding keyframes to stickers.
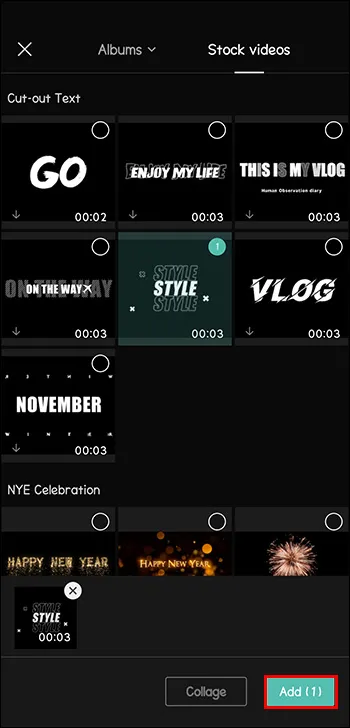
Initiating a New Project
- Tap the plus (+) icon to start a new project.

- Click “Add” after choosing a video from your library or one of the available CapCut stock videos.
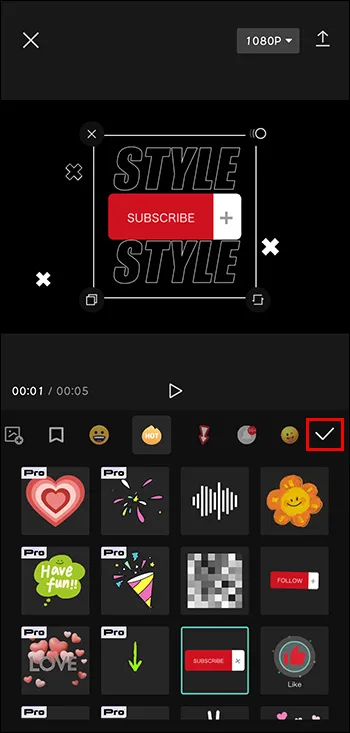
Working with Stickers
- Choose “Stickers” from the toolbar and pick a sticker or multiple stickers.
- Position the sticker, rotate it, add static animations, or adjust its duration.
Adding Keyframes to Stickers
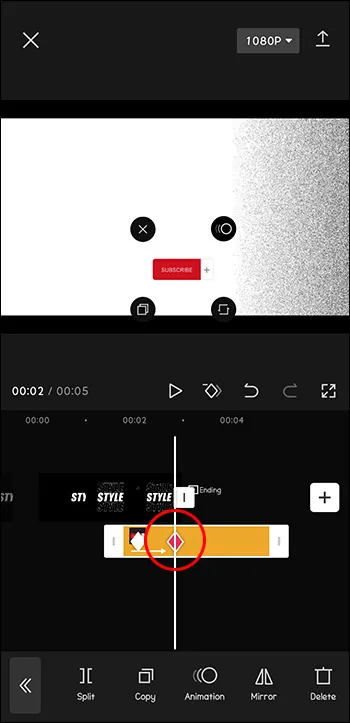
- Tap on two little diamonds with a plus next to the play button to create the first keyframe.
- Move the playhead to set the animation’s starting point.
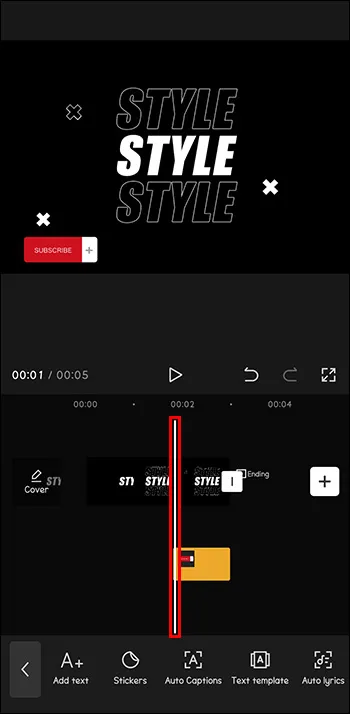
- Adjust the sticker’s position and add other features; another red diamond will automatically appear.
Exporting the Video
- Click the arrow in the upper-right corner.
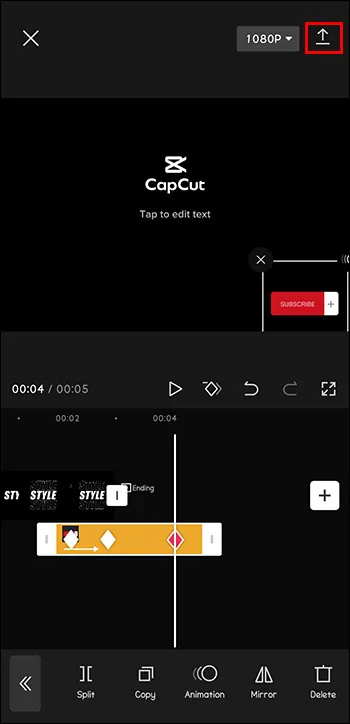
- Tap “Done” and export the video directly to social media or messaging apps.

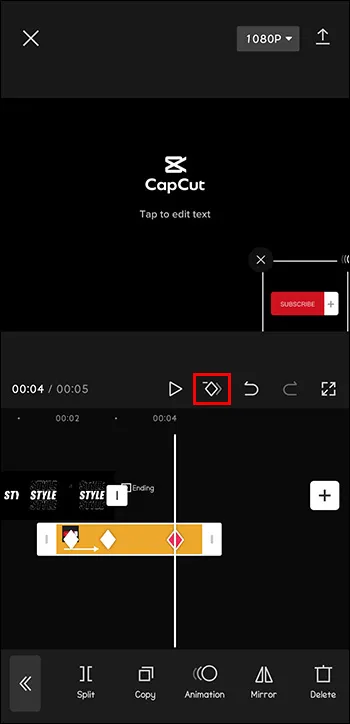
Removing Keyframes
- Return the playhead to the red diamond’s location on the timeline of your video.
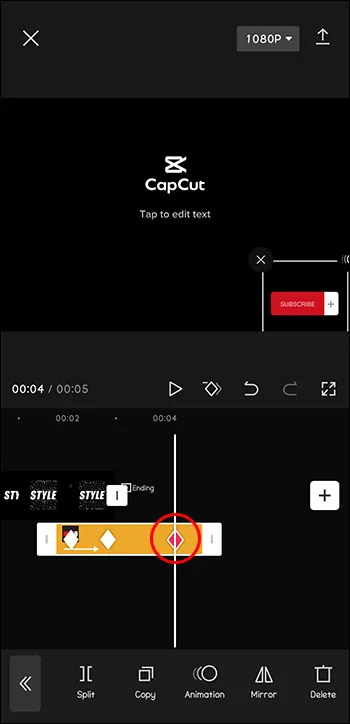
- Click on those two diamonds next to the play button; the plus sign should turn into a small minus sign, indicating the removal of the keyframe.
Adding Keyframes in CapCut PC
Enhancing Videos with Opacity Changes
For those who prefer working on a PC, CapCut’s Windows app provides a platform to add keyframes to various elements. This section focuses on changing a video’s opacity through keyframes.
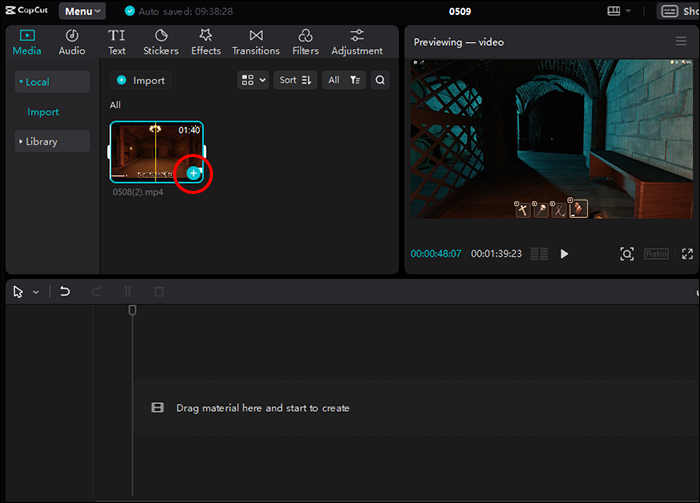
Getting Started on PC
- Click on “New project” and select “Import” or add videos from CapCut’s Library.
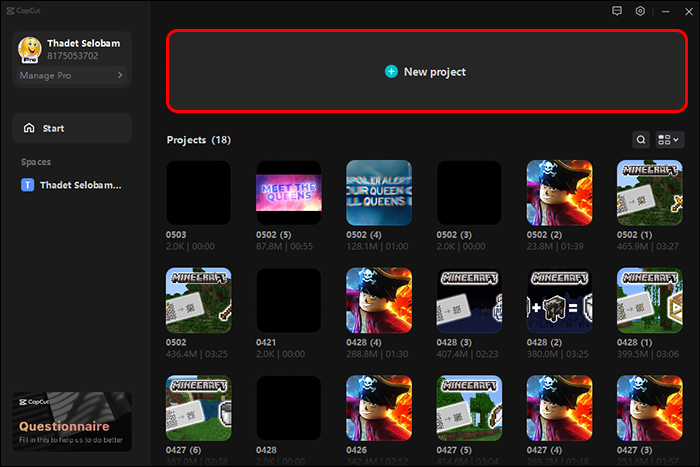
- Press the little blue plus (+) in the bottom right corner to add it to your editing space.
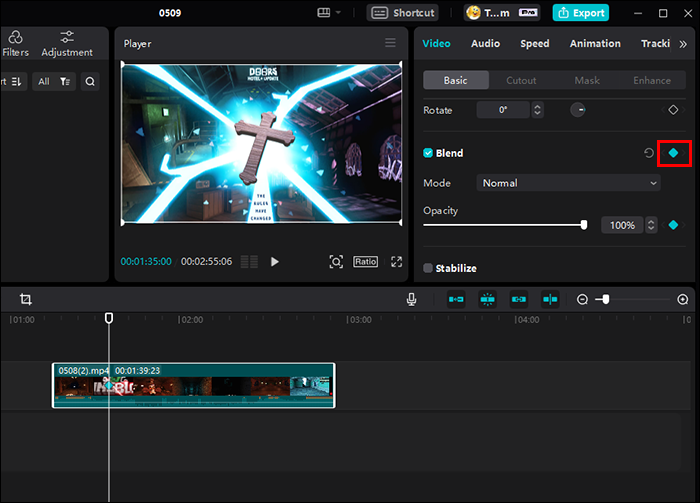
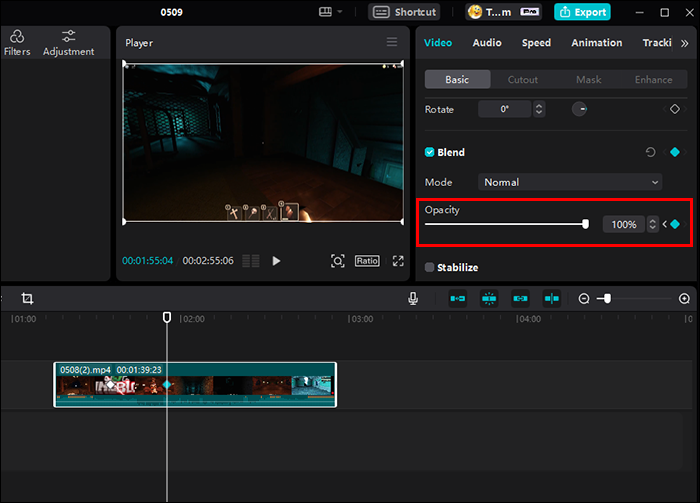
Creating Keyframes for Opacity
- Adjust the starting opacity and position the playhead where the animation should start.

- Tap on the symbol representing a diamond; it will turn blue and mark your first keyframe.
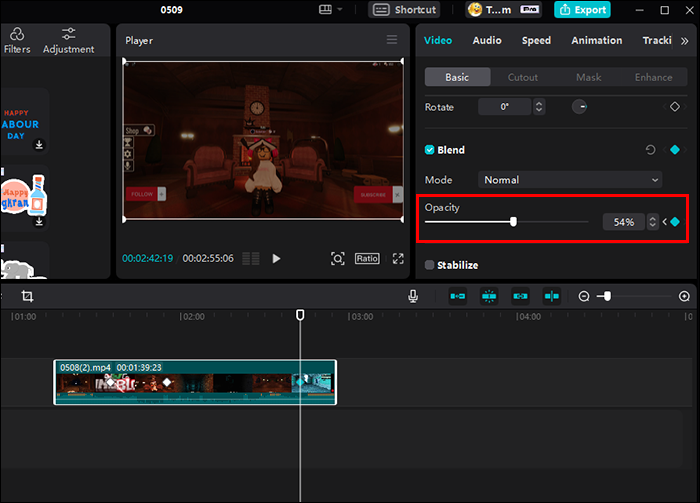
Animating Opacity
- Position the playhead for the next animation.
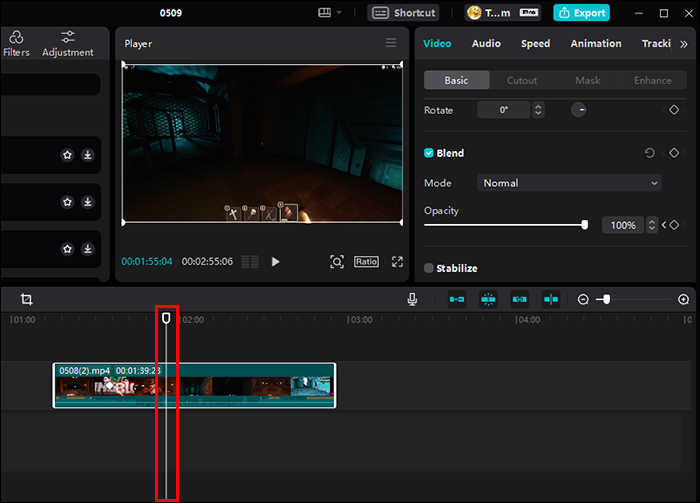
- Adjust the opacity in the side menu; the diamond will turn blue again automatically.
- Repeat this process until you reach the end of the video.
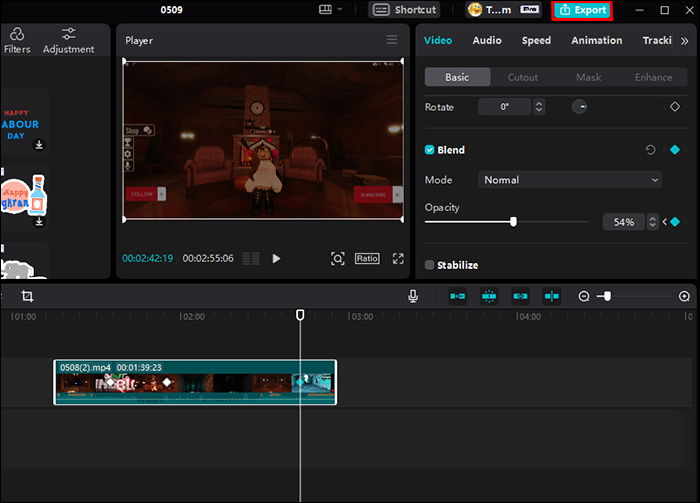
Exporting the Video on PC
- Tap the “Export” button and adjust video settings if needed.
- Click “Export” to save the edited video.
Removing Keyframes on PC
- Similar to the CapCut app, position the playhead to the specific diamond on the timeline and click on the blue diamond in the side menu.
Conclusion
CapCut’s user-friendly interface and robust features, especially the incorporation of keyframes, make it an ideal choice for creating professional videos with minimal effort. Whether on mobile or PC, mastering keyframes in CapCut can revolutionize your video editing, providing a seamless and visually appealing experience.
FAQs
Q.1. What does a keyframe do in CapCut?
A. In CapCut, a keyframe serves as a pivotal point in a video where various changes take place, such as movement, scale, rotation, opacity, and more. It’s a crucial feature akin to the video background remover tool, allowing users to precisely control and animate elements within their videos.
Q.2. What does keyframe animation do?
A. Keyframe animation establishes the starting and ending points of an action in a digital animation sequence. These keyframes serve as anchor points for various actions across different animation programs, including Adobe After Effects, Animate, and Character Animator.
Q.3. How to do animation on CapCut?
A. To animate in CapCut, make your videos more engaging by adding cool moments. Click on “Effects,” then “Video Effects,” and simply click the check mark to apply.
Q.4. What are the benefits of keyframes?
A. The benefits of keyframes include speeding up the animation process, enabling animators to create various movements effortlessly, ensuring smooth transitions, facilitating easy adjustments, and allowing for reuse across different elements through simple copy and paste functionality.
Q.5. What are keyframes and why are they important?
A. Keyframes are pivotal points that define the starting and/or ending of smooth transitions in animation or video editing. They play a crucial role in breaking down shots, whether in animation or live-action, into individual frames.